
Key Takeaways
- Build Roblox obbies without scripting using Studio templates, Toolbox assets, and simple property changes in 5 clear steps.
- Recent Roblox Studio updates and no-code tools let you create a full obstacle course as a beginner in under an hour.
- Add checkpoints, visual polish with particle emitters, and solid testing so you avoid lag, broken jumps, and rage-quit moments.
- Nilo’s browser-based platform helps you create pro-quality obbies with AI asset generation, vibe coding, and real-time multiplayer testing.
- Export Nilo creations directly to Roblox with performance-friendly settings. Join Nilo’s open beta today and start building for free.
What an Obby Is and Why You Can Skip Scripting
An obby, short for obstacle course, is one of the most popular game types. You jump, climb, and dodge your way through platforms to reach the end. Obbies stay fun because they are simple to understand and quick to play.
You can make a Roblox obby without coding by using Roblox Studio templates, Roblox’s toolbox assets, and newer AI tools.
Roblox Studio gives you starter worlds. The Toolbox gives you pre-built parts. Modern platforms add “vibe coding,” where you describe what you want in plain English and the AI handles the technical work. You can create a full Roblox obby without code by using these newer AI helpers, like Nilo.
Creating a Roblox Obby In Roblox Studio: 5 Steps
Follow these five steps to build your first obby in Roblox Studio using no scripting at all.
1. Start with a Roblox Studio Template
Open Roblox Studio and pick either the Obby Creator Kit or a simple Baseplate. Recent Studio updates improved how templates are organized, so you can find a good starting point faster. Begin with a template that matches the style of course you want to build.
2. Use Toolbox Kits and Checkpoints
Search the Toolbox for “Obby Kit,” “Kill Part,” and “Checkpoint” assets. Review each asset before you use it to make sure it behaves correctly. Drag and drop these parts into your world to shape your course layout without touching any code.
3. Customize with Property Tweaks
Use the Properties panel to change colors, materials, sizes, and basic behaviors. These settings control how your obstacles look and feel. Adjust CanCollide and Anchored to change how parts behave in the game. CanCollide off creates platforms you fall through, while Anchored off lets objects move or drop. These simple tweaks turn generic Toolbox parts into a unique obby that feels like your own, all without scripting.
4. Add Visual Polish with Free Assets
Enhance your obby with particle emitters from the Toolbox and use the Terrain Editor to build more realistic environments. No-code particle emitters and terrain tools add visual depth and make each jump feel more exciting. Once your course looks polished, you are ready to check that everything actually works during gameplay.
5. Test and Publish
Test your obby with a simple checklist. Check jump distances, platform stability, checkpoint behavior, and mobile performance. Then publish through File > Publish to Roblox so others can play. Testing while you build helps you catch broken jumps and bad platform spacing early.
Common Pitfalls and Quick Fixes
The table below highlights four problems beginners hit all the time and the fastest ways to fix them. Keep it nearby while you build so you can troubleshoot without getting stuck.
|
Pitfall |
Fix |
|
High part counts causing lag |
Use performance-friendly kits that avoid tiny details and reduce lag |
|
Unoriginal appearance |
Change colors, textures, and scale in Properties so your obby does not look like a default template |
|
Missing checkpoints |
Search Toolbox for “Checkpoint” and place them often so players do not lose too much progress |
|
Broken jumps |
Test jumps repeatedly and adjust platform spacing until they feel fair but challenging |
Skip all these Roblox Studio roadblocks by trying an AI-native workflow instead. Try Nilo’s open beta free and build without these common issues slowing you down.
Level Up Your Obby: Build in the Browser with Nilo
Now that you know the Roblox Studio flow with templates, Toolbox assets, and property tweaks, you have reached the limit of what Roblox Studio alone can do. You might still want very customized obstacles, faster changes, or real-time building with friends.
Browser-based AI platforms help you do that. Nilo handles the heavy technical work so you can focus on ideas, layout, and gameplay. It stands out as a 3D creation platform that runs on both mobile and desktop.
You can open it in a browser and start building without installing anything. Here is how you can create a Roblox obby without code using Nilo’s AI-first workflow:
1. Generate AI Obstacles
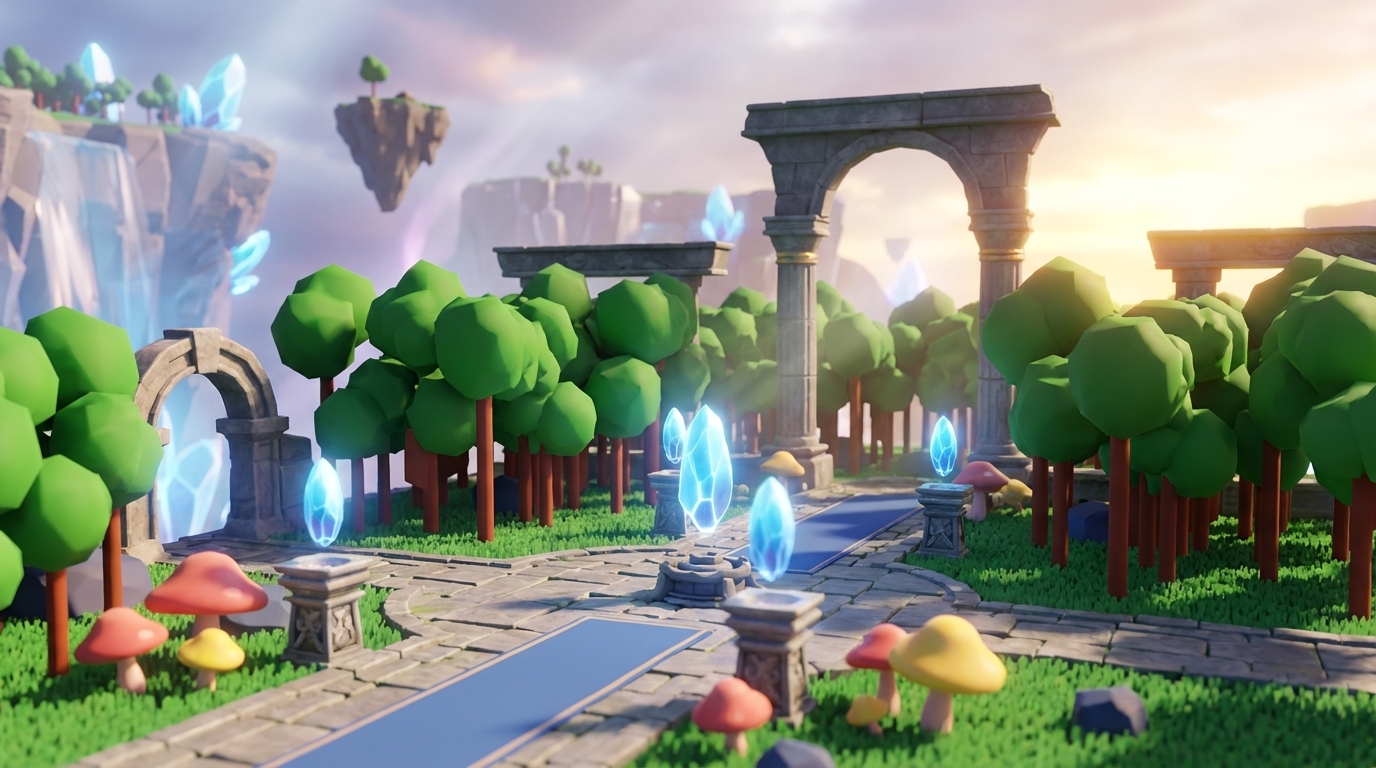
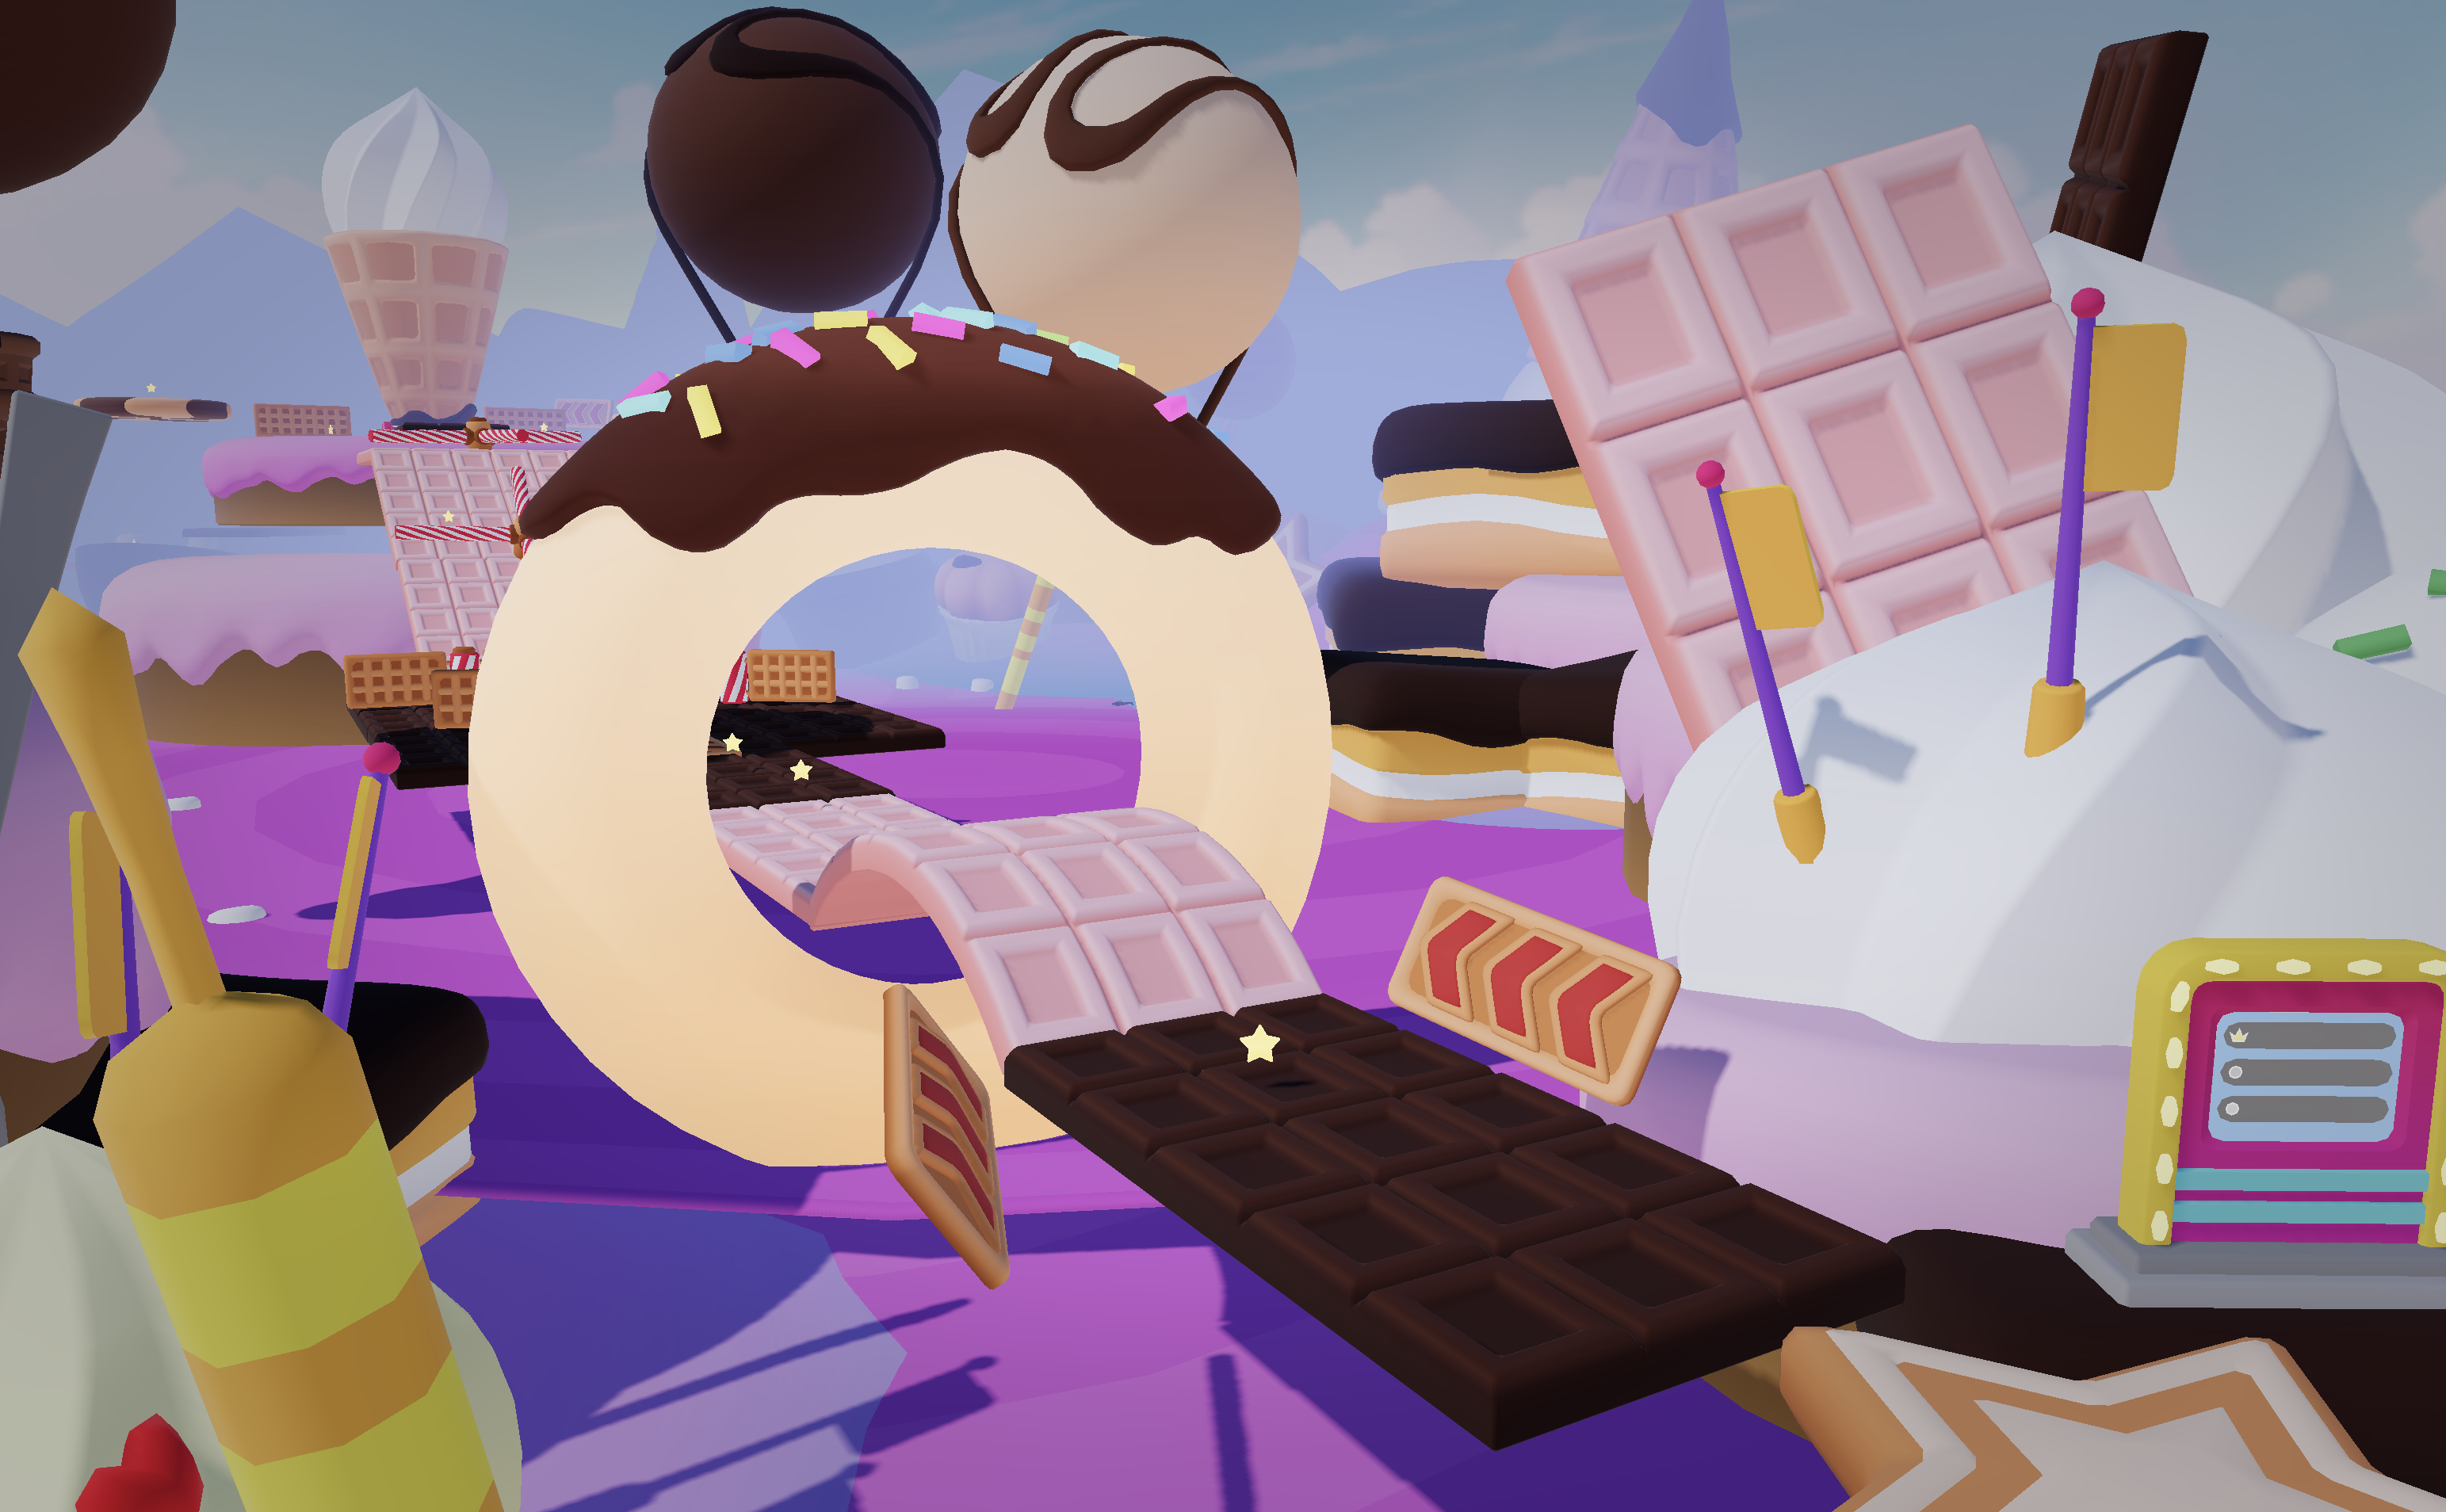
Use text-to-3D or sketch-to-3D tools to create custom obstacles. Type prompts like “floating ice platforms” or “lava parkour course” and get game-ready assets in seconds. Nilo connects to several AI providers, including Meshy AI for UV mapping and clean topology, so your models are ready for Roblox.
2. Add More Interactivity with Vibe Coding
Skip Lua and talk to the AI instead. Use natural language prompts, also called vibe coding, where you describe what you want in plain English. Say “add jumping platforms that move in a circle” or “make this part kill the player on touch.” The AI writes the code for you and you see the results in the 3D view right away.
3. Test with Friends in Real Time
Share a simple link so friends can join your world instantly. Everyone can run through your obby while you are still building it. You do not need to publish, wait, and reload. This makes it easier to spot boring sections, unfair jumps, or confusing paths.
4. Export to Roblox with Smart Optimization
Nilo’s level-of-detail system adjusts polygon counts so your models stay friendly to Roblox’s performance limits. Export your scene as an FBX file and import it into Studio without extra cleanup. You keep the visual style you want while still running smoothly on lower-end devices.
Roblox Studio and Nilo: How the Workflows Compare
The comparison below shows how Roblox Studio and Nilo differ in speed, scripting needs, collaboration, and asset creation. Use it to decide which setup fits your current project and skills.
|
Feature |
Roblox Studio |
Nilo |
|
Creation Time |
Hours |
Minutes |
|
Scripting Required |
Manual Lua coding |
Natural language prompts |
|
Collaboration |
Limited real-time options |
Real-time multiplayer building and testing |
|
Installation |
Desktop app required |
Browser-based |
|
Asset Creation |
Toolbox plus manual Studio modeling |
AI-generated custom models |
Many creators say Nilo saves them a huge amount of time. One user shared, “I do not have to spend hours on 3D modeling the simplest things, now I can use Nilo and do it in 15 seconds.” Nilo stands out when you care about speed and easy collaboration. Experience the faster workflow yourself by starting a project in Nilo’s free open beta.
Common Pitfalls and How to Fix Them with Advanced Tools
Even with strong tools, obby building can feel tricky at times. These common issues show up often, along with practical ways to handle them.
- Messy AI Assets: many AI 3D models need cleanup after generation. Nilo’s retopology system fixes geometry automatically so you spend less time repairing meshes.
- No Friends to Test: solo testing misses problems that other players notice right away. Nilo’s link sharing lets you invite friends instantly, even if they do not have accounts.
- Performance Issues: high polygon counts can cause lag, especially on phones. Use level-of-detail systems or Nilo’s automatic optimization to keep frame rates stable.
- Generic Appearance: relying only on unedited templates makes your obby feel forgettable. Change colors, add particle effects, and mix obstacle types to create a style that feels like yours.
- Broken Checkpoints: test spawn points carefully and place them where players naturally land. This keeps the run smooth and avoids confusing respawns.
Advanced Obby Ideas and Your Next Steps
You can push your obbies further by layering in more systems and style. Add leaderboards using free Toolbox scripts so players can race for the fastest time. Try different themes like low-poly, horror, or sci-fi to see what fits your ideas. Roblox’s 2026 updates bring stronger creator tools and more AI support, which makes it easier for you to ship polished experiences.
Join active creator communities to get feedback and learn tricks that tutorials do not always cover. For aspiring builders or already builders like you who want to move beyond basic layouts, Nilo’s Discord community gives you a place to grow. More than 9,000 creators share techniques, show their work, and team up on projects.
Since you can open Nilo from any device with a browser, you can start a level on your computer, tweak it on your phone, and jump back in during a school break. Connect with other builders and unlock advanced tools by joining Nilo’s free open beta.
FAQ
Can I make a Roblox obby without coding?
Yes, you can build fun obstacle courses using Roblox Studio templates, Toolbox assets, and property changes without writing code. When you want moving platforms, special effects, or more complex logic, platforms like Nilo let you describe what you want in plain language instead of learning programming syntax.
Does Nilo export to Roblox?
Yes. Nilo exports FBX files that you can import straight into Roblox Studio. The level-of-detail system keeps polygon counts within Roblox’s limits, so you avoid extra optimization work in Blender or other 3D tools.
Is Nilo free to use?
Nilo gives you 1,000 free Nilo Bits each month for AI generation, export, and creation features. You can use the main tools, including 3D asset generation, collaboration, and publishing, without paying upfront.
What works better for me: Roblox obby templates or Nilo?
Roblox templates help you learn basic structure and flow. Nilo works better when you want custom assets, faster iteration, real-time collaboration, and stronger optimization. Many creators combine both approaches, starting in Roblox Studio and then moving to Nilo when they feel ready for more advanced projects.
Can I build obbies on mobile?
Roblox Studio only runs on desktop, but Nilo works directly in mobile browsers. You can create, test, and publish obstacle courses from your phone or tablet as long as you have an internet connection.
You now have several clear paths from Studio basics to AI-powered creation. You can start with Roblox templates, or jump straight into browser-based AI tools, as long as you keep building and improving your ideas. Start your first AI-assisted obby today by joining Nilo’s free open beta.